
Well the 2022 Calgary Stampede Western Showcase is a little over a week away and I have six oil paintings going into the show! So the task now is to make sure my art is show ready.
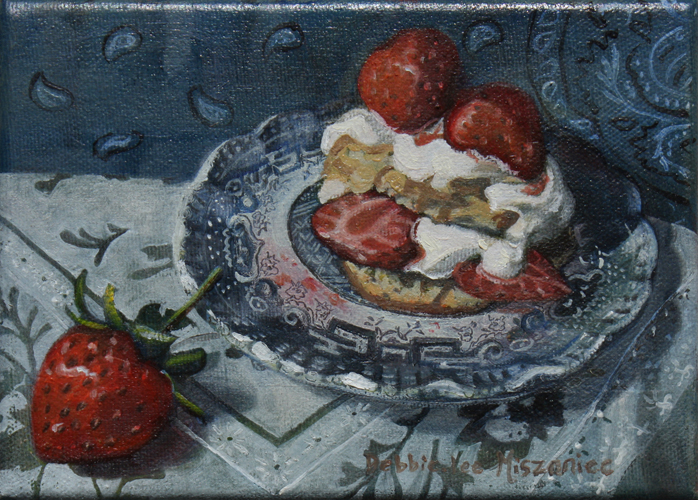
Strawberry Shortcake 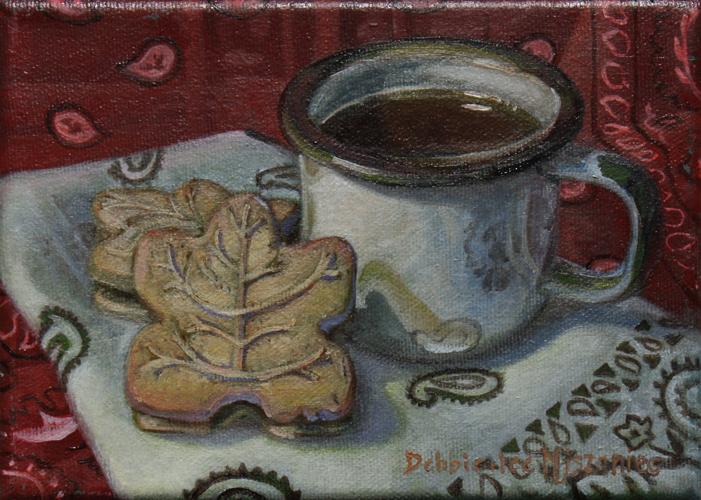
Maple Cookie 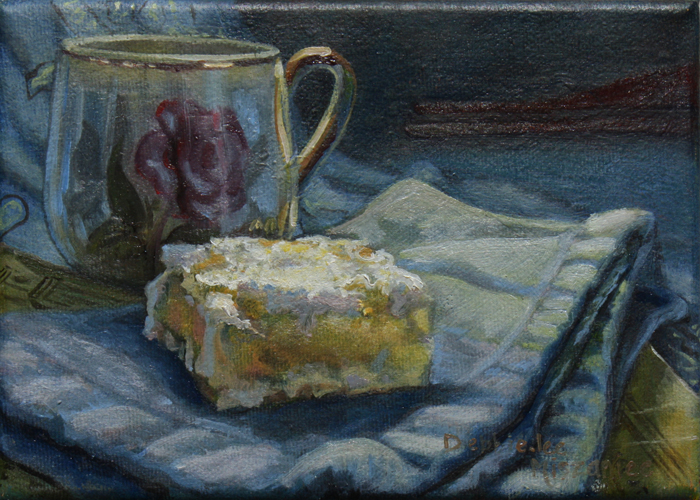
Lemon Bar 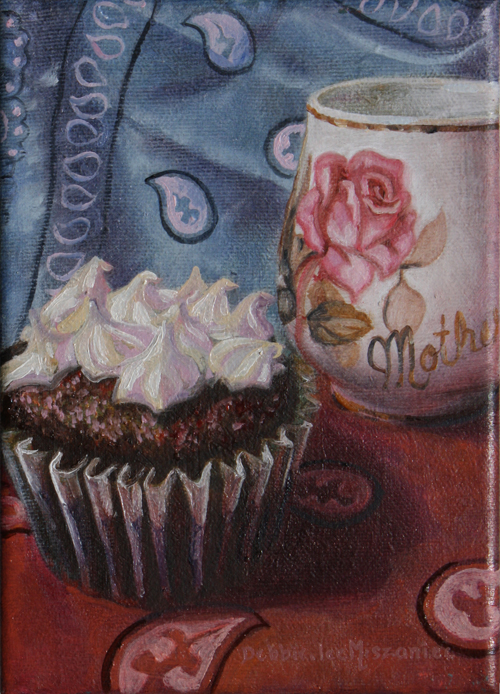
Cupcake 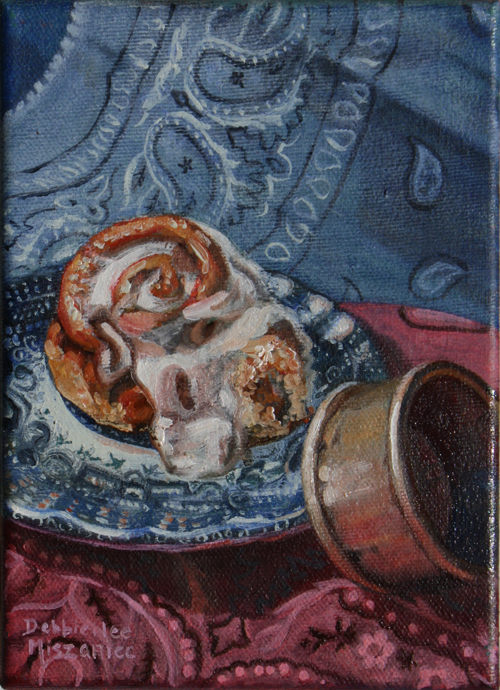
Cinnamon Roll 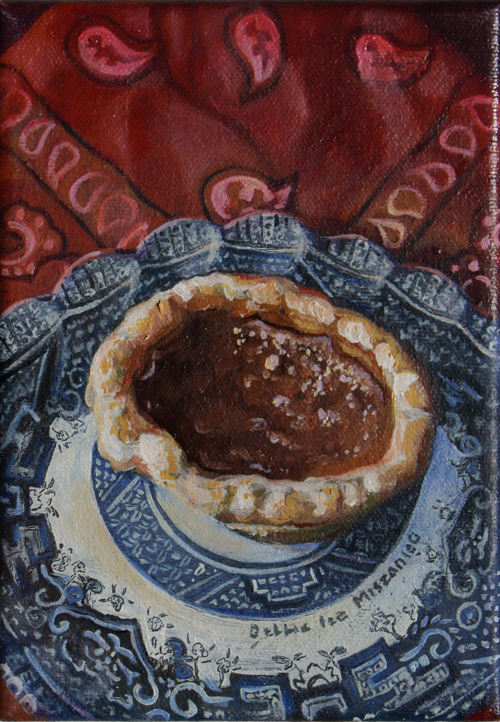
Butter Tart
Each are 5″x7″ o/c $250 framed.
So what goes in to getting art “show ready”?
Well, in case you have a show coming up and are looking for tips, I’ll share my tips with you today.
- Finish the Art! Make sure your paintings are finished and dry enough to handle being out of the studio and in the real world (Duh, you say, but this can sometimes be a challenge in itself for the grand visionary perfectionists which most artists are when it comes to their art).
- Varnish: I like to give mine a spray coat of the appropriate picture varnish for protection and freshness once the paint has fully cured.
- Framing: Technically this is optional depending on the type of show and the type of painting, however as a former picture framer I would opt for simple framing over no framing if at all possible. First, framing is protective. It is meant to buffer the art from the scuffles it might encounter in transit, storage or display. What would you rather get damaged, the corner of the painting or the corner of the frame? Second, I have seen complimentary framing showcase good works as something truly special and play up the best qualities of mediocre work. Framing can make a big difference in the perception of the quality of art on the wall.
- Hanging Hardware: Regardless of whether you choose to frame or not, you need a way to attach the art securely, yet removably, to the wall. The industry standard is D-rings and picture wire, so make sure your paintings are wired properly before they leave the studio.
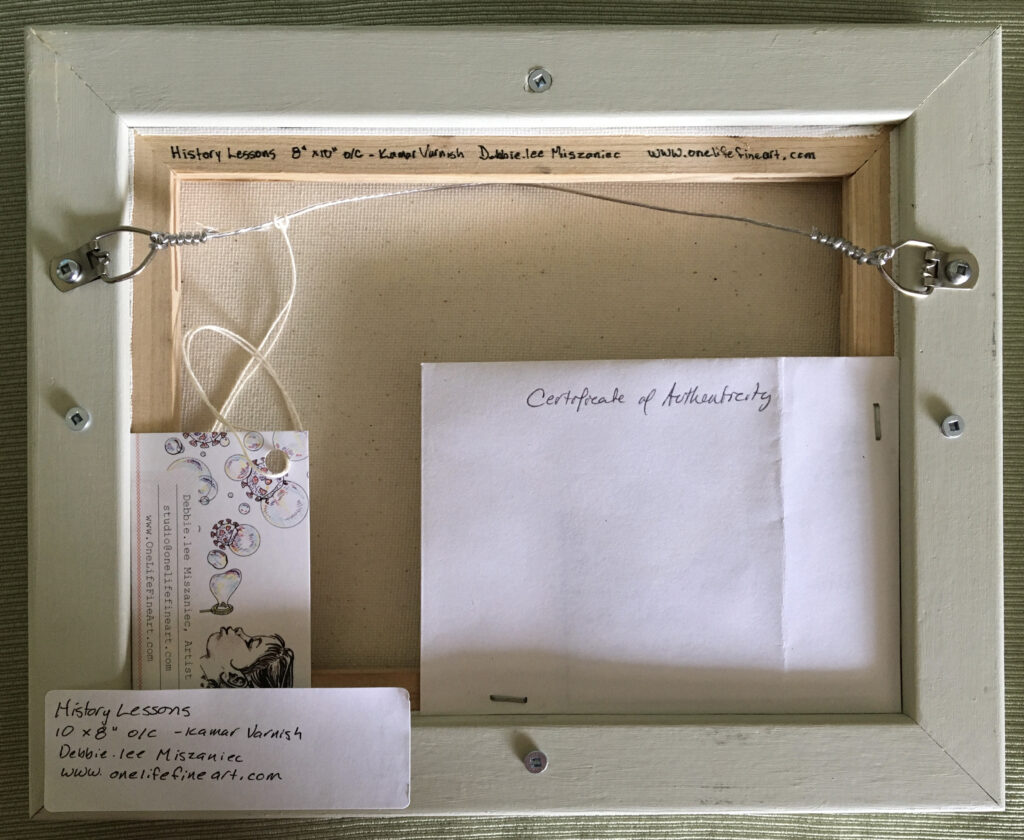
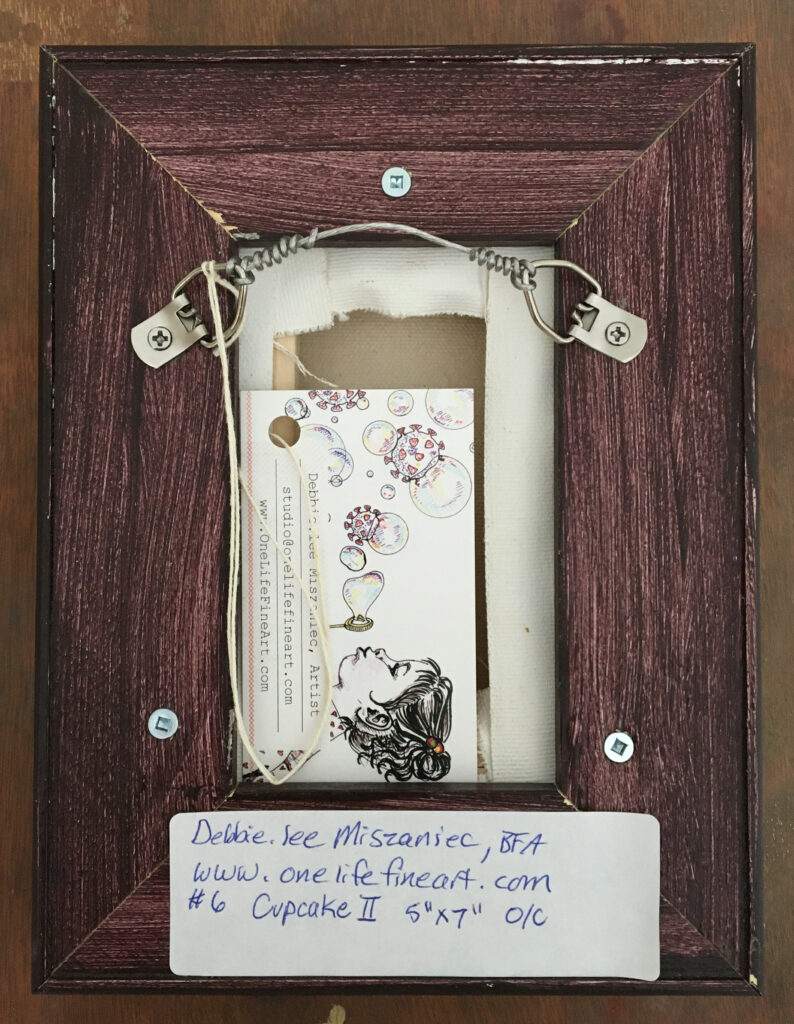
- Identification and Information! Ever struggled to read an artist’s signature on the front of a painting? Having worked in galleries & frame shops, identification is a big deal. I want to know who the artist is, the title of the piece and the size (the framer in me also wants you to tell me which way is up for certain, but that is another article). As someone selling or buying the art, having the price clearly marked is handy. Finally, as the artist, clear painting identification is part of my marketing. I want the buyer to be able to see my full name & it’s correct spelling (so they can google me if it comes to that), and a way to contact me and/or see more of my work. I want them to be able to pass that information along to anyone they may know who asks about their new painting. So I include three points of identification (see the image above) and information on my paintings, beyond the signature.
- On the back of every painting, usually on the stretcher bar, I print my name, website address, the title, size and medium. This way, even if reframed there is a record of the artist and art.
- I repeat this information on a desktop printer label adhered to the the back of a business card attached to the wire of the frame. This is great because the card can be kept or later used to pass my contact information to a buyer’s friends.
- I repeat this information a third time, but with price now, on a label adhered to the frame back (or if unframed to the painting’s back). StickerCanada sent me these custom uncoated paper stickers with extra strong adhesive, and so far I LOVE them in comparison to the desktop printer labels. They are the correct size for my frames, professional looking, legible at the small size, and customizable with just a regular ball point pen (no smearing with a regular pen, but my felt pen smeared a little). My favourite thing about them though, is that they actually STICK! Desktop printer labels do not adhere reliably to canvas, stretcher bars or wood frame backs. Ideally the labels would stick for as long as the buyer owned the painting, and reasonably they should stick for the term of the show. However, frequently they begin to detach hours after being positioned, even with burnishing. It is not terribly useful if your identification and marketing ends up lying on the floor somewhere beneath your painting during a show. So, StickerCanada’s option to get extra strong adhesive on their uncoated stickers is much appreciated.
- Package for shipping: This will depend on how you are shipping the works. I have never had to build wood crates for shipping, fortunately. However you really do need to think about how you are getting the art to its destination and what challenges that might involve along the way. Keep them dry, insulated from climate, and isolated from abrasion, compression or impact. When putting them in the hands of a regular shipper, I layer the art in the centre of a system of cardboard, styrofoam or foam core, bubble wrap and glassine paper. When transporting them myself (locally) I can get by with just cardboard corners and stretch wrap on the paintings. I place them back to back or front to front in an appropriately sized cardboard box. The paintings shouldn’t be jammed in tightly, but neither should they be able to shift or jostle in the box. I can then either take the packaging with me or leave it with the show organizer, although I would prefer if they utilized it for safe storage too.
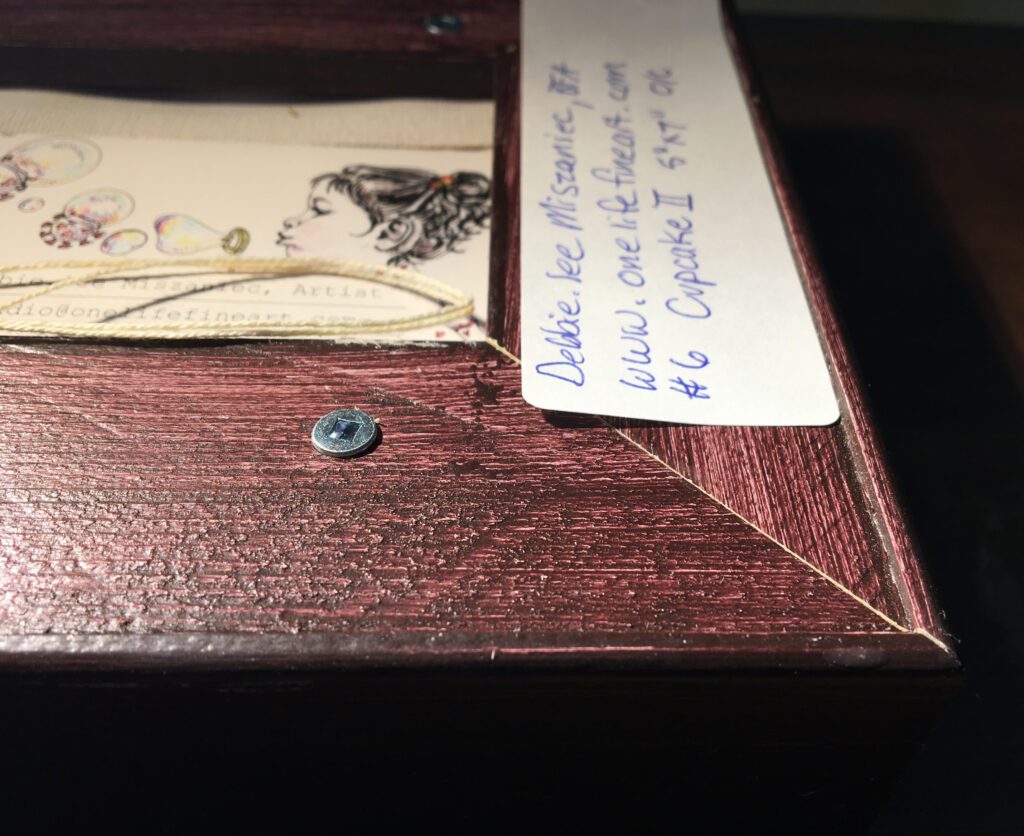
Right: custom printed sticker with extra-strong adhesive. Nice!
So there you go, my experience on preparing art for a show. But, different art might need different preparation. So what are your tips?